
Your car’s alternator is the unsung hero under the hood, tirelessly keeping your battery charged and your electronics humming.
In this article, we’ll guide you through the process of refurbishing alternator, helping you keep your vehicle running smoothly without breaking the bank. Let’s dive into the world of alternator refurbishment and discover how you can take your auto maintenance skills to the next level.
Refurbishing Alternator
What Is an Alternator?
An alternator, in technical terms, represents a miniature electrical power plant within the vehicle. It’s a key element of the automotive charging system, with its primary responsibility being the provision of electricity, keeping the battery charged and allowing the car’s electronics function smoothly.
The Benefits of Refurbishing an Alternator
Refurbishing alternator carries numerous benefits which render it a worthwhile investment. For one, it offers substantial cost savings over buying a new component. A refurbished alternator typically costs significantly less than a new one, while still delivering equivalent performance levels.
Another advantage of alternator refurbishment relates to environmental sustainability. By refurbishing alternator, it’s possible to extend the unit’s lifespan considerably. This action contributes directly to waste reduction, an important step towards greener vehicle maintenance practices.
Step-by-Step Guide to Refurbishing an Alternator
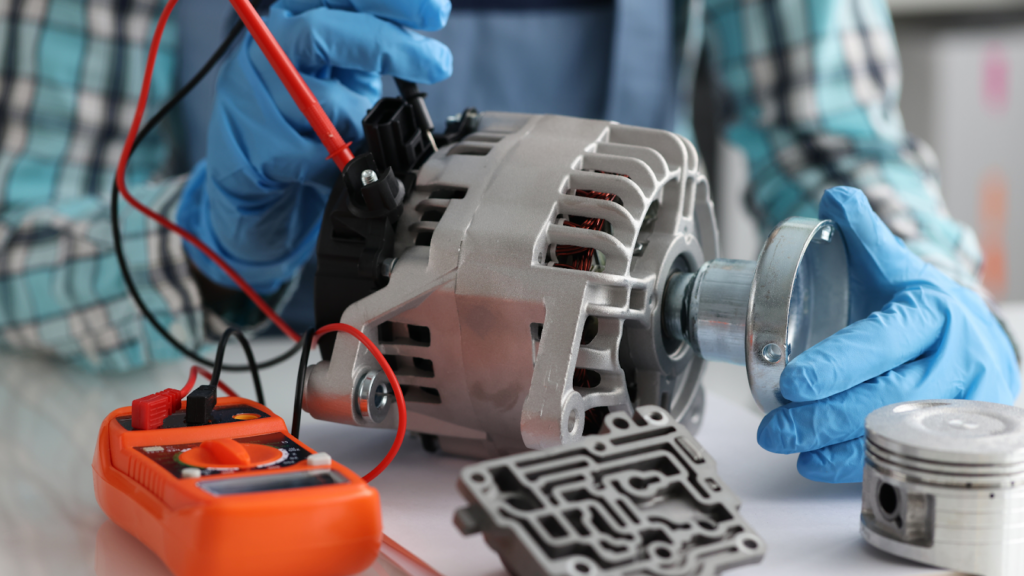
Inspecting the Alternator
In order to refurbish an alternator, it’s pivotal to start by inspecting the part. Generally, an alternator features three essential sections: the stator, rotor, and diode. Strain your eyes for any signs of damage, such as worn-out wires or burnt diodes. A faulty alternator might exhibit some form of physical damage, hinting at the potential need for refurbishment. Use a multimeter to test the alternator’s voltage output, aiming for a reading around 13.5 to 14.5 volts. Anything less might indicate a failing alternator requiring repair.
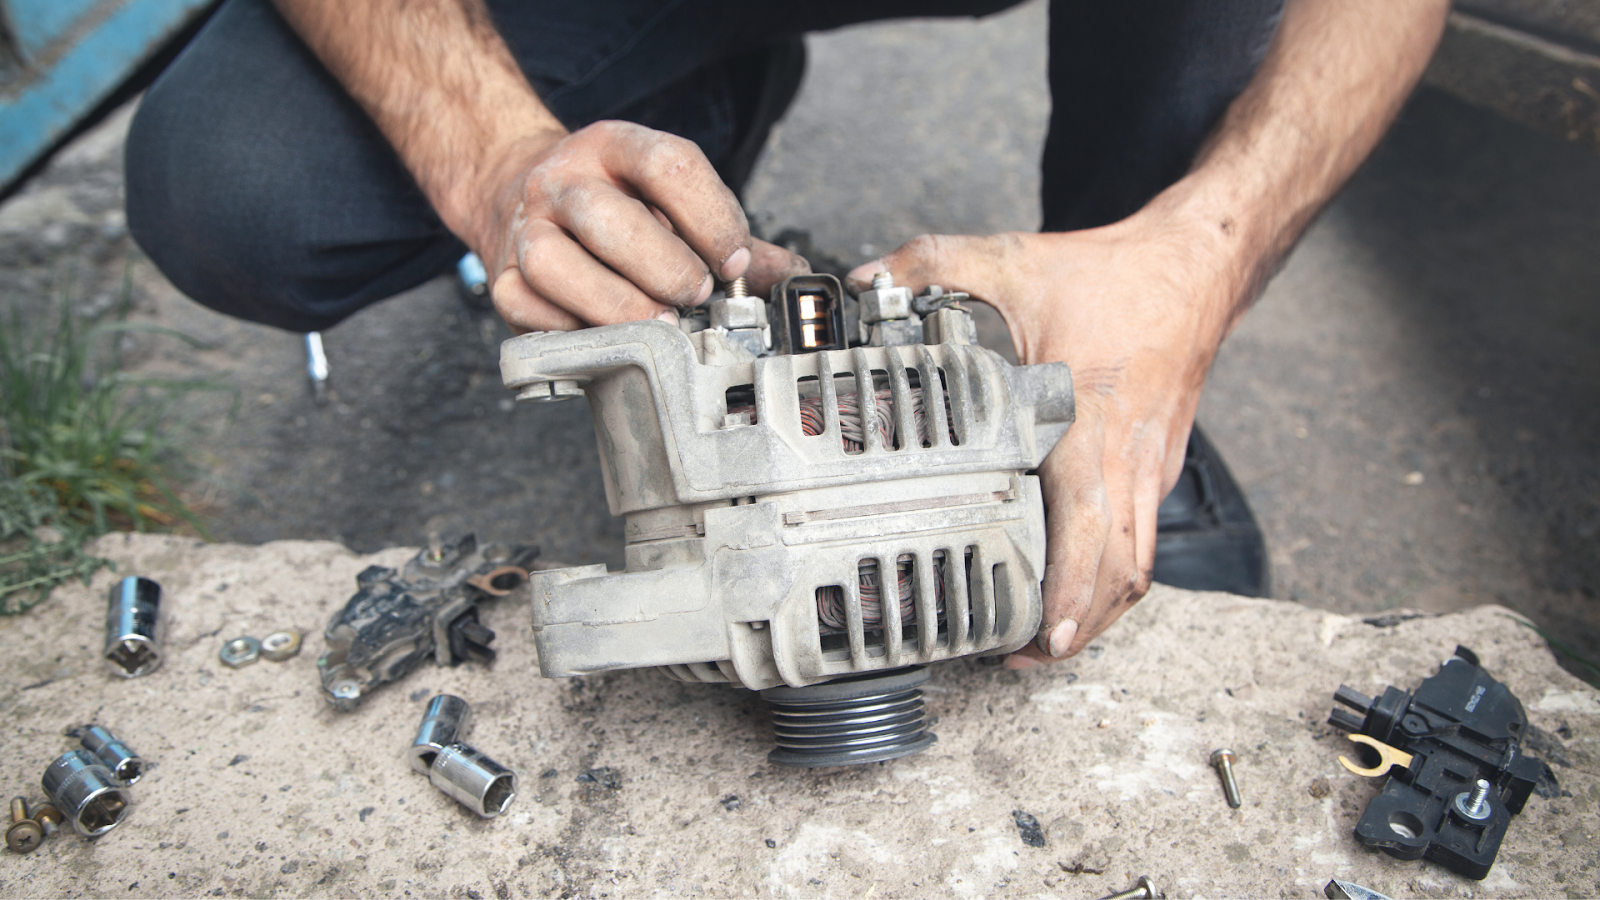
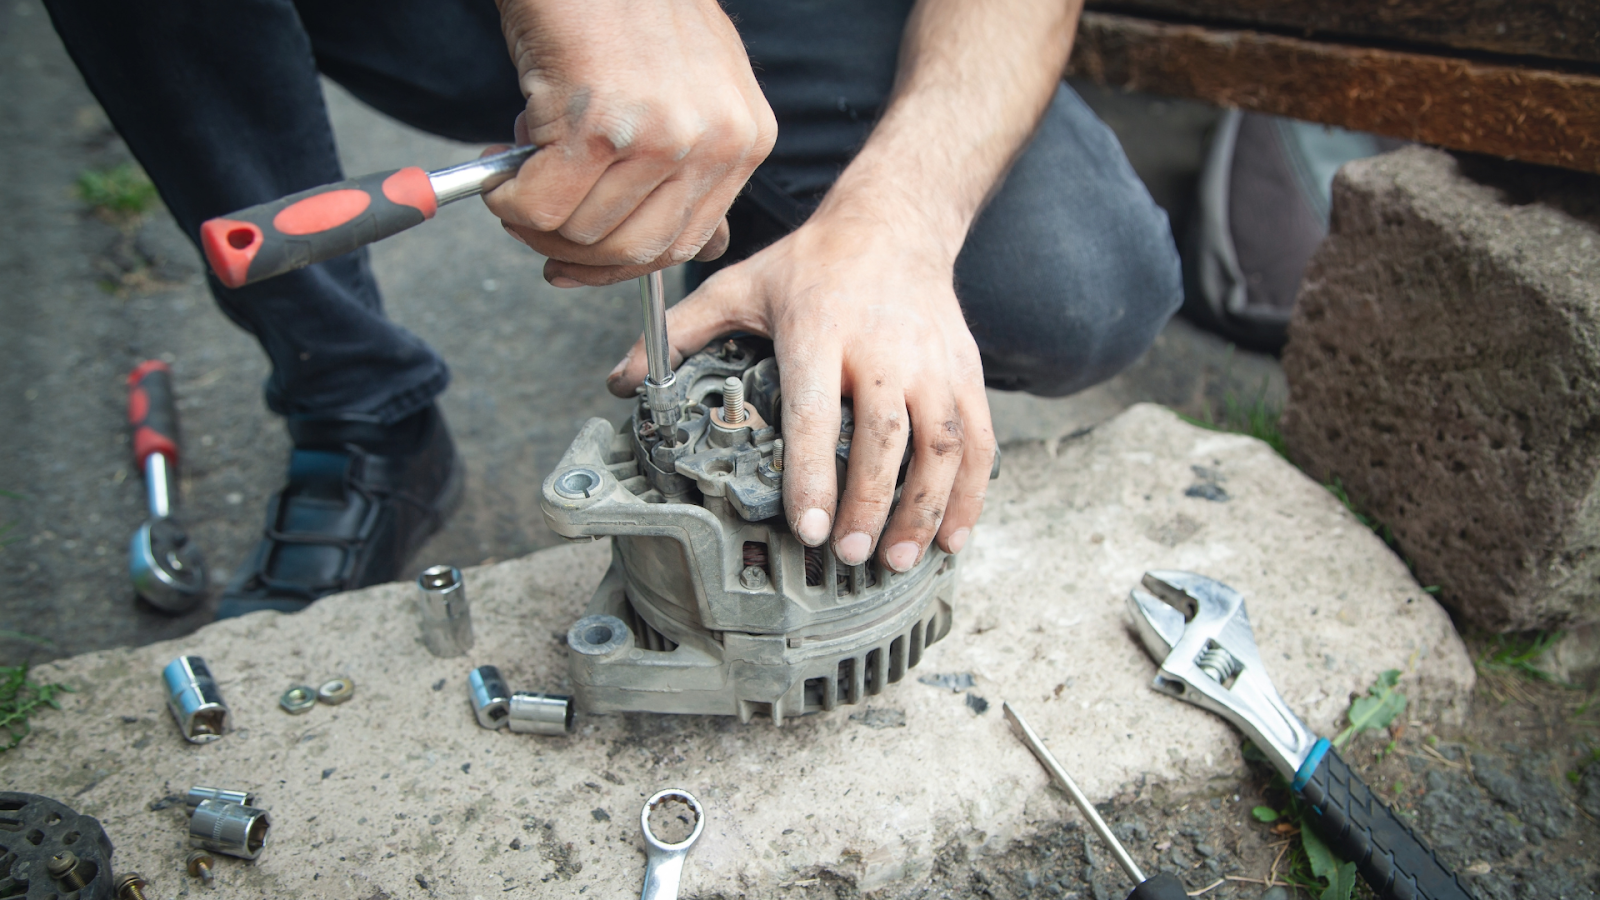
Disassembling the Alternator
Next comes the disassembling process. Begin by removing the pulley and fan using an impact wrench if possible. Avoid unnecessary force to prevent damaging the parts. Afterward, remove the voltage regulator followed by the rear casing of the alternator.
Cleaning and Replacing Components
Once you have all the parts separated, start with a thorough cleaning. Specific focus areas include the stator windings and the inside of the housing. Use an air compressor to blow out any dust and dirt, ensuring cleanliness before reassembly.
Reassembling and Testing Performance
Now it’s time to put everything back together. Reassemble by reversing the disassembly steps. Start with installing the new components, if any, and reattaching the rear casing. Install the voltage regulator, fan, and pulley in their respective places.
Necessary Tools and Equipment for Refurbishing
In the course of refurbishing alternator, a specific set of tools and equipment come into play. Emphasis lies on these tools aiding in disassembly, cleaning, part replacement, and reassembly of the alternator.
Basic Hand Tools
Basic hand tools illustrate the initial level of requirements for alternator refurbishing. They offer fundamental support asides complex tools that mandate alternator-specific functions. Spanners, Screwdrivers, and Pliers fall under this category – offering support for disassembling and reassembling the alternator.
Specialized Alternator Tools
In addition to basic tools, alternator refurbishing tasks warrant specialized tools. Often times, these consist of Alternator Pulley Service Kits, Alternator Bearing Pullers, and Brush Installation Tools. They usurp specific tasks beyond the capability of basic tools, tending to intricate parts of an alternator.
Must Know
Refurbishing alternator isn’t just cost-effective; it’s a reliable solution for car owners. By opting for this method, you’re looking at savings in the range of $300 to $800. However, it’s not just about the initial cost. Maintaining a refurbished alternator is key to its performance and longevity. Regular inspections, voltage output monitoring, and ensuring a well-maintained electrical system are all part of the care package. Don’t forget the importance of looking after the serpentine belts, fuses, relays, and wires connected to the alternator.